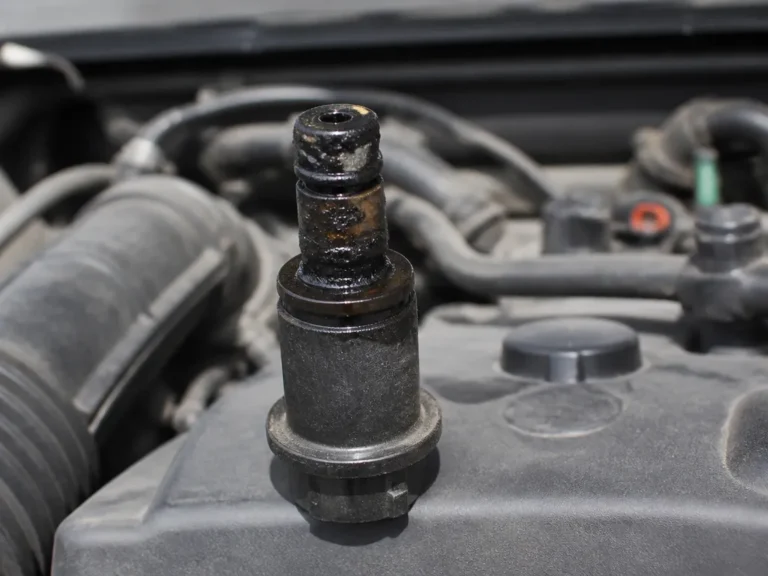
Can You Patch A Muffler?

A muffler leak is usually obvious, and it can get expensive if you ignore it. The good news is that small holes and seam rust can often be patched well enough to quiet the car and keep exhaust gases where they belong. This guide answers whether you can patch a muffler, then walks you through diagnosis, materials, repair steps, and when to replace it instead.
Yes, you can patch a muffler – but only for small, localized damage and only if the metal is still solid around the hole. For pinholes, seam splits, and minor perforation, an exhaust patch kit plus proper surface prep can work for a while. If the muffler is badly rusted through, has large holes, or the leak is at a heavily corroded joint, replacement is the safer, longer-lasting move.
Key Takeaways
- Patch works on small holes. Localized pinholes and small seam leaks are the best candidates for a patch job.
- Rust decides everything. If the metal around the hole flakes or tears easily, a patch will usually fail.
- Prep is non-negotiable. Clean to bare metal and remove scale, or sealants won’t bond well.
- Use exhaust-rated products. Normal JB Weld or generic glue often doesn’t survive heat cycling like mufflers do.
- Expect temporary reliability. A patch can quiet the car, but it may not outlast a new muffler.
Can You Patch a Muffler? When It Works?
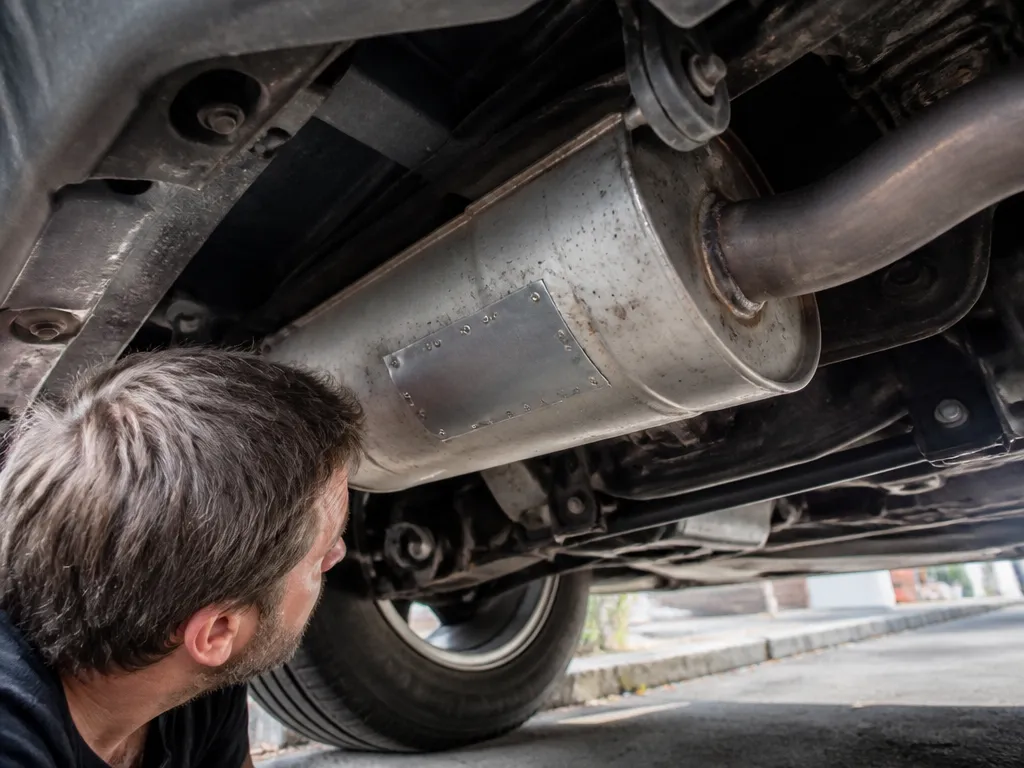
You can patch a muffler when the damage is small, the metal around it is still solid, and the leak is in a place you can properly clean and reach. The most workable spots are typically pinholes, small rust-through areas, and minor seam leaks on the muffler shell or at a weld that has started to split.
In practice, the patch is a “heat-resistant bridge” over the hole. That bridge only holds if you remove the rust crust down to clean metal and apply a muffler-appropriate sealant or patch material that can handle exhaust temperatures and vibration. If the muffler is widely perforated, the shell is flaking, or the hole is large enough that you’d be relying on sealant as the only support, patching usually turns into repeated repairs.
For homeowners, the practical verdict is simple: patching is worth attempting when the muffler leak is annoying now and the rest of the exhaust system is in decent shape. If you smell strong exhaust, hear a sharp ticking or hissing at idle, or see fresh soot trails, patching can buy you time, but replacement is often the better long-term choice when corrosion is advanced.
How to Diagnose Muffler Leaks and Rust
A muffler leak is easiest to confirm when you can see soot and confirm it with sound. Start the car in a safe, ventilated area, then listen at idle for a “blow-by” hiss or ticking sound that changes with engine speed. For many leaks, you can also spot a dark soot line tracking from the hole or seam.
Rust patterns tell you what you’re dealing with. Surface rust and light coating are common and not always urgent, but bubbling, flaking, holes, and wet-looking exhaust soot mean the metal has already failed. If you can press the area with a gloved finger and it crumbles, record that area as evidence of advanced corrosion before choosing a repair.
For the quickest confirmation, do a visual check after driving. Mufflers and exhaust pipes stay warm for a while, so you want to be careful, but the soot is often clearer when heat has been applied. Look under the car and around joints where sections connect, and check for black streaks that start and end at a seam, clamp, or pinhole.
Where Mufflers Fail Most Often
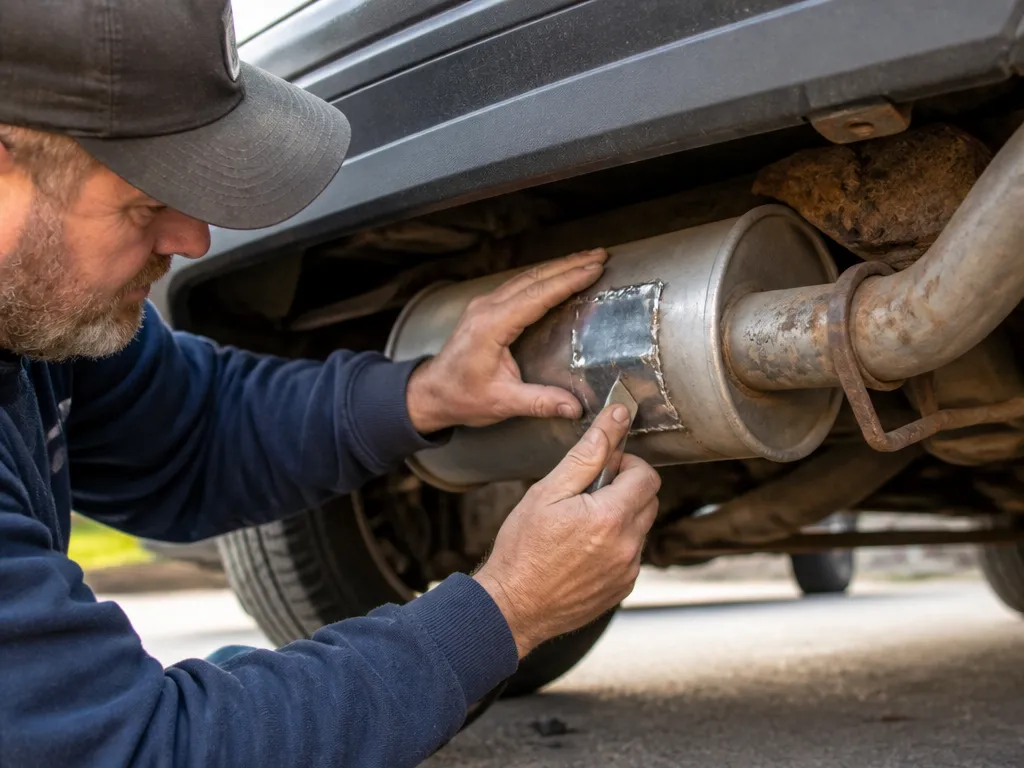
Mufflers fail most often at seams, at welds, and at connection points where heat cycles concentrate. The sheet metal in these areas expands and contracts repeatedly, and small weld cracks can open into leaks over time. If you see rust collecting along a seam line, that’s frequently where the first pinhole will show up.
The other common failure zone is where road spray and moisture collect – especially low points and edges of the muffler shell. Bottom surfaces trap salt and water, so corrosion accelerates even if the muffler looks “mostly fine” elsewhere. Thin metal along the bottom edge can allow another leak to develop near a repaired area.
Finally, pay attention to how the muffler is mounted and connected. If your leak seems to be at the pipe overlap, near a clamp, or at a section junction, the real problem can be a corroded pipe end or damaged gasket-like surfaces rather than the muffler shell itself. In those cases, patching the muffler body may help temporarily, but fixing the joint is what you actually need.
What Materials Can Seal a Muffler Hole
For patching, use products meant for exhaust systems, not general-purpose metal filler or cold-setting adhesives. Exhaust-rated muffler repair kits typically include a high-heat sealant and a metal patch or wrap material designed to handle vibration and thermal cycling.
The most common options that work are:
- Exhaust patch tape or wrap combined with muffler sealant, especially for seam splits and irregular holes.
- High-heat epoxy or metal filler made specifically for exhaust use, for small localized perforations.
- Metal patch pieces (thin steel or patch plate) held in place with exhaust-rated sealant.
Avoid “random” adhesives that are not rated for high heat, because the patch will often fail the first time the exhaust heats up to operating temperature. Also be careful with products that claim to be strong but lack any heat suitability for exhaust applications. The muffler area gets hot enough that many non-rated materials turn brittle, lose adhesion, or burn off.
Material choice should match the hole size and the surface you can prep. Use sealant with patch material for tight seams, and use a more substantial patch when the opening needs mechanical coverage.
Step-by-Step: Patch a Muffler With Exhaust Repair
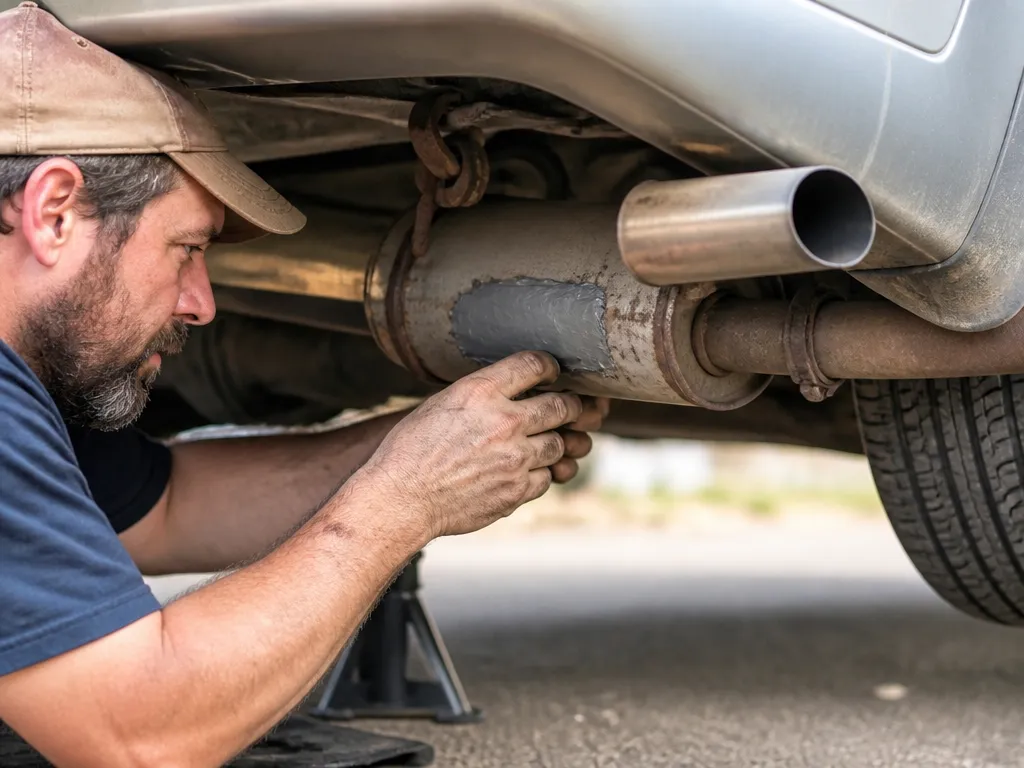
Patch success is mostly about surface prep and the order of operations. If you do those right, you can often get a noticeably quieter car within the same day.
- Identify the leak location. Confirm soot trails and pinpoint where the sound is coming from at idle.
- Let the exhaust cool completely. Work when the muffler is cool to the touch, especially around joints and clamps.
- Clean to bare metal around the hole. Scrape and wire-brush until you remove rust flakes, paint, and soot so the repair bonds to metal.
- Dry the area. Wipe with a clean rag and allow any moisture to evaporate. Moisture under the patch is a common failure cause.
- Fit the patch material over the hole. Center it so it covers the opening with extra overlap onto solid metal on all sides.
- Apply exhaust-rated sealant and press firmly. Use the kit’s instructions for the amount, then hold or wrap as directed to keep it tight against the metal.
- Let it cure fully before driving. Follow the cure time carefully. If the product says “fully cured,” don’t shortcut it.
In practice, the easiest “home” job is a small hole in the muffler shell. If the hole is right at a seam, you may need to clean along the seam line and make sure the patch covers the cracked edges, not just the center of the hole.
For example, if you find a pinhole with a pinpoint soot spot, you’ll usually get the best results when you wire-brush beyond the soot mark until the surrounding metal is clean and solid. Then apply sealant, add the patch material, and keep pressure on it until it bonds. If you rush and leave rust scale around the edges, the patch often lifts after a few drives.
When You Should Replace the Muffler Instead
Replace the muffler when the corrosion is widespread, because patching one hole is rarely the end of the story. If you see multiple pinholes, extensive rust-through, or the muffler shell has a “bubble” pattern of corrosion, you’re patching symptoms rather than fixing the underlying metal failure.
You should also replace it when the leak is at heavily rusted joints or at connection points where the pipes meet. If the clamp area is corroded and the pipe end is thin, your repair may not hold because the patch needs stable structure and the joint keeps moving and leaking.
Another replacement trigger is structural weakness. If you can push the muffler around, if it feels thin and flimsy, or if the muffler hangers or mounts are rusted out, the repair can’t overcome the lack of mechanical support. In those cases, you can spend time and money patching while the next problem is already forming nearby.
Finally, consider your tolerance for repeat visits. A patch can quiet the car, but it can fail sooner than a new muffler, especially in salty regions or if the car sees lots of vibration. If you need dependable operation for the long haul, replacement is usually the better bet.
After Repair: Testing for Smoke, Noise, and Exhaust Leaks
After the patch cures, do a cautious test that focuses on safety and confirmation. Start the car and let it idle while you listen for the original hiss or ticking. If the noise is gone or noticeably reduced, that’s a good sign the leak is sealed.
Next, check for smoke or odor around the repaired area. A brief smell can happen for heat-related cure processes in some kits, but persistent heavy exhaust odor, visible smoke, or soot reappearing around the patch means the repair isn’t holding. Also look underneath for fresh soot trails, which are the fastest clue that exhaust is escaping somewhere else.
Finally, do a short drive test and re-check. Drive for a few minutes, then safely inspect the patch area. If you see the patch lifting, cracking sealant, or new soot around the edges, stop using the car and plan a re-repair or replacement. Exhaust leaks can worsen quickly, and they can also increase risk if gases enter the cabin.
A practical note: if your car has a catalytic converter upstream, avoid long idling with a leak. Leaks can affect exhaust flow and, in some cases, can make it harder for the system to run as intended. Keep the test short and get back under the car promptly for visual confirmation.
FAQ
Can you patch a muffler with regular epoxy?
You can patch a muffler only if the epoxy is rated for exhaust heat and vibration. Regular household epoxy is often not designed for the high temperatures and thermal cycling near a muffler. For a patch to hold, use an exhaust-rated muffler repair product, then clean the area to bare metal first.
How long does a muffler patch take to cure?
Cure time depends on the specific exhaust repair kit you buy, and it’s usually listed on the package. Many products require a full cure period before driving, and rushing this step causes common early failures. Follow the cure instructions exactly, then do a quick idle test after the full cure time.
Is patching a muffler safe?
Patching is generally safe when you stop the leak and ensure the repair fully seals before you drive. If you still smell strong exhaust or see soot returning around the patch, do not keep driving. A badly rusted or structurally weak muffler needs a different repair plan.
What’s the biggest mistake when patching a muffler?
Leaving rust scale, paint, or soot under the repair is the biggest mistake. Sealants and patches bond best to clean metal, and flaking rust prevents adhesion. Clean to bare metal around the hole, dry the area, then apply the exhaust-rated sealant and patch material.
Can I use a muffler patch instead of replacing it?
A patch is a short-term repair, while replacement is more dependable when corrosion or movement affects the exhaust system. Patching can buy time, but advanced corrosion often keeps opening new leaks.

- Top 10 Best Helmet For Xtreme 125r 2026 - October 5, 2026
- Top 10 Best Helmet For Xpulse 200 2026 - October 5, 2026
- Top 10 Best Helmet For Xsr 155 2026 - October 5, 2026