How to Fix a Kids Bike Chain That Keeps Falling Off (Easy Fixes for Parents)

A kids bike chain that keeps falling off is one of the most common and frustrating bike problems parents face.
Whether your child rides a beginner bike, cruiser, or mountain bike, chain issues can affect safety, performance, and confidence.
In this guide, you’ll learn why a child’s bike chain keeps coming off, how to fix it step-by-step, and when it’s time to upgrade or replace parts using simple, parent-friendly solutions optimized for both single-speed and geared bikes.
Why Does My Child’s Bike Chain Keep Coming Off?
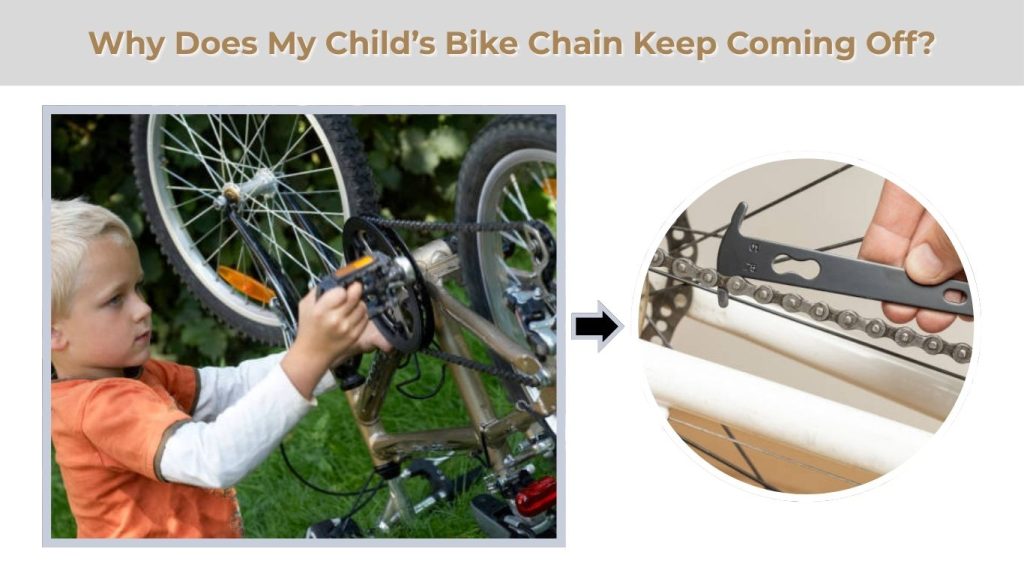
If your child’s bike chain keeps coming off, it’s usually caused by a simple mechanical issue, not a major defect.
Kids’ bikes are more likely to have chain problems because of frequent stops, rough riding, curb hits, and falls. Understanding the root cause makes the fix much easier and safer.
Is the Bike Chain Too Loose?
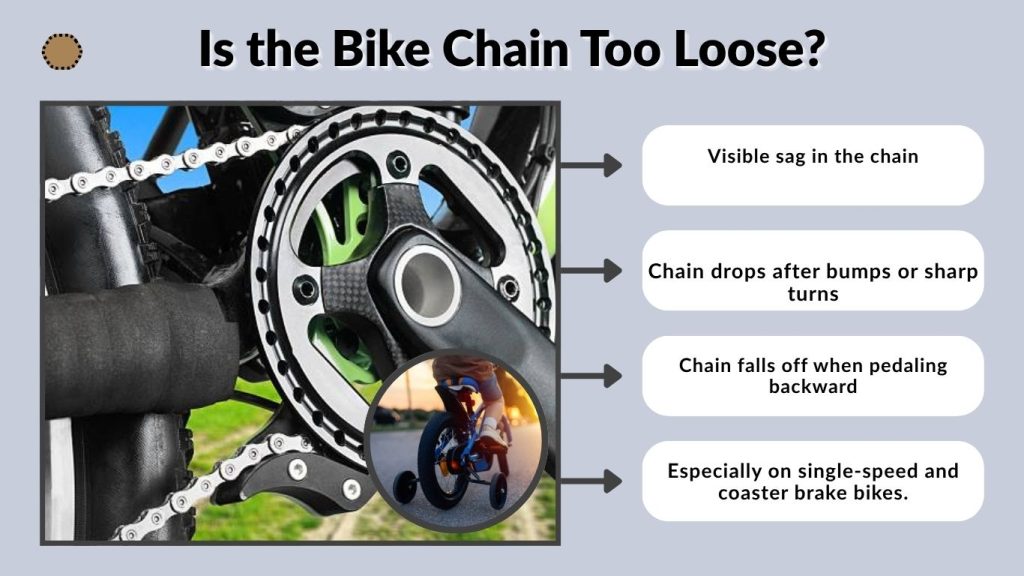
A loose chain is the most common reason a child’s bike chain comes off, especially on single-speed and coaster brake bikes.
The chain depends on proper tension created by the rear wheel position. If the rear wheel shifts forward even slightly, the chain loses tension and can slip off the sprocket during pedaling.
Signs of a loose chain:
- Visible sag in the chain
- Chain falls off when pedaling backward
- Chain drops after bumps or sharp turns
Is the Chain Worn or Stretched?
Chains naturally wear over time, and kids’ bikes often experience faster wear due to dirt, water, and inconsistent maintenance.
When a chain stretches:
- It no longer sits securely on the sprocket teeth
- It skips or slips under pressure
- It becomes more likely to derail, even if tension seems correct
If the chain looks rusty, stiff, or elongated, replacement is usually more effective than adjustment.
Are the Gears or Sprockets Misaligned?
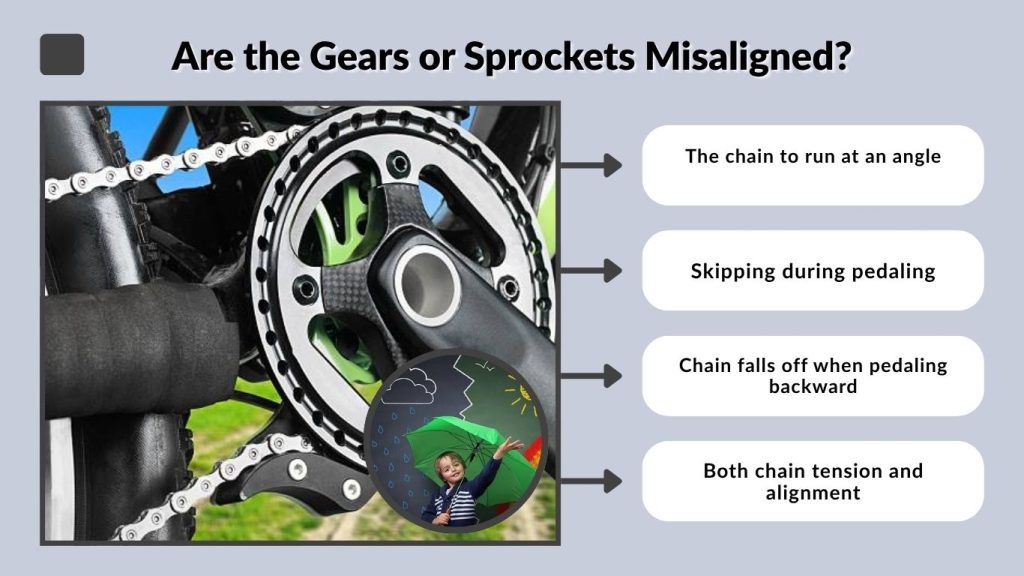
Some kids’ bikes especially larger models have gears. When gears are involved, alignment becomes critical.
Misaligned sprockets or poor shifting can cause:
- The chain to run at an angle
- Skipping during pedaling
- Chain drops when changing gears
This is common if the bike has been dropped or transported roughly.
Is the Rear Derailleur Bent or Poorly Adjusted?
On geared kids’ bikes, the rear derailleur controls both chain tension and alignment. If it’s bent or incorrectly adjusted, the chain won’t track smoothly.
Many geared kids’ bikes use derailleur designs similar to those from Shimano.
These systems rely on precise alignment small bends or loose adjustments can easily cause repeated chain drops.
How to Fix a Kids Bike Chain That Keeps Falling Off
Once you identify the cause, the fix is usually straightforward.
How to Tighten a Chain on a Single-Speed Kids Bike
This applies to most coaster brake bikes.
Steps:
- Loosen the rear axle nuts slightly
- Pull the rear wheel backward evenly
- Check chain tension (about ½ inch of movement)
- Ensure the wheel is straight
- Tighten the axle nuts firmly
Proper tension prevents the chain from jumping off during normal riding.
How to Fix a Chain on a Kids Bike With Gears
Geared bikes adjust tension through the derailleur, not the rear wheel.
What to check:
- Shift to the smallest rear gear
- Make sure the derailleur is straight
- Ensure smooth shifting across gears
- Inspect the derailleur hanger for bends
If the derailleur can’t maintain tension, the chain will continue to fall off.
How to Align the Rear Wheel Correctly
Rear wheel alignment directly affects chain stability.
If the wheel is crooked:
- Chain tension becomes uneven
- The chain is pulled sideways
- The chance of derailment increases
Always center the rear wheel before tightening the axle nuts.
How to Reinstall a Fallen Chain Safely
A fallen chain is one of the most common bike issues—and fortunately, it’s usually easy to fix. The key is to reinstall it carefully so you don’t damage the drivetrain or risk another drop mid-ride. Follow these steps to do it safely and correctly.
1. Place the Bike Upside Down or on a Stand
Start by stabilizing the bike.
- If you have a repair stand, secure the bike so the rear wheel can spin freely.
- If not, carefully flip the bike upside down so it rests on the saddle and handlebars.
- On disc-brake bikes, avoid squeezing the brake levers while the wheels are off the ground.
Stability is important because you’ll be handling the chain and rotating the pedals. A moving bike increases the risk of injury or improper installation.
2. Set the Chain on the Front Sprocket
Next, locate the front chainring (front sprocket near the pedals).
- Drape the chain over the top of the chainring teeth.
- Make sure it sits evenly on the teeth—not twisted or half-seated.
- If the chain fell toward the inside (near the frame), check that it’s not jammed between the frame and chainring.
If your bike uses a drivetrain from brands like Shimano, shifting to the smallest front chainring (if applicable) before reinstalling can make the process easier.
3. Loop It Onto the Rear Sprocket
Now guide the chain toward the back of the bike.
- Pull the lower section of the chain backward.
- Place it onto the smallest rear cog (this creates the least tension and makes reinstallation easier).
- Ensure the chain runs properly through the derailleur pulleys (if your bike has gears).
If the chain is not routed correctly through the derailleur cage, it may skip or jam when pedaling.
4. Turn the Pedals Forward Slowly by Hand
This step seats the chain properly.
- Hold the chain lightly in place on the chainring.
- Slowly rotate the pedals forward (clockwise).
- Watch as the chain climbs fully onto the teeth.
Do not pedal aggressively. Slow, controlled rotation prevents the chain from slipping back off.
If the chain hesitates or jumps, stop immediately and reposition it correctly before continuing.
5. Watch for Smooth Movement
Once the chain is fully seated:
- Continue rotating the pedals several full turns.
- Listen for grinding, clicking, or skipping.
- Observe whether the chain stays aligned on both sprockets.
The chain should move smoothly and quietly.
✔ No jerking
✔ No popping sounds
✔ No derailleur struggling
If the chain runs quietly and stays in place, the fix is complete.
Additional Safety Checks Before Riding
Before you hop back on:
- Shift through a few gears (if applicable) to ensure smooth operation.
- Confirm the rear wheel is straight and secure.
- Make sure the chain is not twisted or kinked.
- Wipe off excess grease from your hands before gripping the handlebars.
If the chain falls off again immediately, it may indicate:
- Incorrect limit screw adjustment
- Bent derailleur hanger
- Worn chain or cassette
- Improper chain tension (on single-speed bikes)
In those cases, further inspection or professional adjustment may be necessary.
Why Proper Reinstallation Matters
Reinstalling the chain carefully helps prevent:
- Sudden loss of power while riding
- Damage to derailleur components
- Chain getting stuck between cassette and spokes
- Increased wear on drivetrain parts
A safe reinstall takes less than five minutes and ensures you can continue riding confidently.
If you’d like, I can also create a quick visual troubleshooting chart for identifying why the chain fell off in the first place.
Tools Needed to Fix a Kids Bike Chain at Home
Most chain problems don’t require special tools.
Basic Tools Parents Should Have
- Adjustable wrench or 15 mm wrench
- Gloves (optional)
- Clean rag
These are enough for most chain tension and alignment fixes.
Do You Need a Chain Tool?
A chain tool is only necessary if:
- You’re replacing a worn chain
- The chain needs shortening
For basic adjustments, it’s usually not required.
Chain Issues: Mountain Bike vs Cruiser Bike
Different bike styles experience chain problems for different reasons.
Why Mountain Bike Chains Come Off More Often
Mountain bikes are exposed to:
- Rough terrain
- Constant vibration
- Frequent gear changes
These conditions increase chain movement and make proper tension and alignment even more important.
Cruiser Bike Chain Problems Explained
Cruiser bikes typically use simple, single-speed drivetrains. When their chains come off, it’s almost always due to:
- Loose chain tension
- Rear wheel slipping forward
The fix is usually quick and mechanical rather than technical.
Comparison Table: Mountain Bike vs Cruiser Bike Chain Issues
| Feature | Mountain Bike | Cruiser Bike |
|---|---|---|
| Drivetrain | Multi-gear | Single-speed |
| Common Cause | Terrain and shifting stress | Loose chain tension |
| Typical Fix | Derailleur adjustment | Rear wheel repositioning |
| Tool Complexity | Moderate | Simple |
How to Prevent a Kids Bike Chain From Falling Off Again
Once you’ve fixed a fallen chain, the next step is prevention. A properly maintained bike is safer, smoother to ride, and far less likely to frustrate your child. Most repeat chain problems happen because of skipped maintenance, poor shifting habits, or worn components.
Proper Chain Maintenance for Kids Bikes
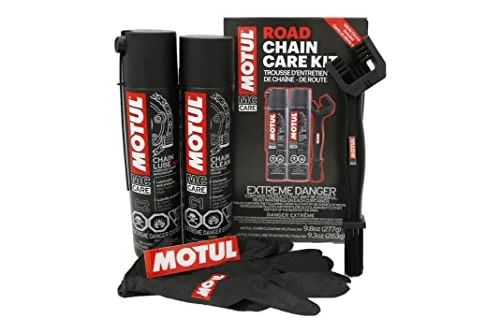
Regular kids bike chain maintenance is the easiest way to prevent future chain drops. Children’s bikes often collect dirt, sand, and water exposure, which increases wear faster than on adult bikes.
Simple maintenance routine:
- Wipe the chain with a dry rag every 1–2 weeks
- Apply a small amount of bicycle chain lubricant
- Spin the pedals to distribute the lubricant evenly
- Wipe off excess oil to prevent dirt buildup
- Check chain tension monthly
A clean and lightly lubricated chain grips the sprockets better and moves smoothly through the drivetrain.
Extra tip:
If the bike is stored outdoors, check the chain more often. Rust increases stiffness and slipping.
Correct Gear Shifting Habits for Children
Many chain problems on geared bikes are caused by improper shifting. Teaching good bike gear shifting tips for kids can significantly reduce chain drops.
Children should learn to:
- Ease pedaling pressure when shifting
- Avoid shifting while standing and pushing hard
- Shift before climbing hills, not during
- Avoid extreme gear combinations (very high front gear + very high rear gear)
Explain it simply: “Shift gently, not forcefully.”
Sudden force during a shift can pull the chain off alignment, especially on smaller drivetrains.
When to Replace a Bike Chain
Even with perfect care, chains wear out. Knowing when to replace a kids bike chain prevents ongoing problems.
Signs it’s time for replacement:
- Chain keeps slipping despite correct tension
- Visible rust or stiff links
- Chain skips under pressure
- Chain appears stretched
Most kids’ bike chains last 1–3 years depending on usage. Replacing a worn chain early prevents damage to the sprockets and gears.
Should You Fix It Yourself or Visit a Bike Shop?
Parents often wonder whether to handle repairs at home or take the bike to a professional. The answer depends on the issue and your comfort level.
DIY Bike Chain Fix – Pros and Cons
Fixing a chain yourself has clear advantages.
Pros:
- Saves money
- Quick solution
- Teaches useful mechanical skills
- Immediate fix for simple tension problems
Cons:
- Risk of improper adjustment
- May overlook bent components
- Requires basic tools
For simple chain tension issues on single-speed bikes, DIY is usually safe and effective. For complex gear alignment problems, professional help may be better.
Cost of Professional Bike Chain Repair
The average bike chain repair cost is relatively affordable.
Typical pricing:
| Service | Estimated Cost |
|---|---|
| Chain adjustment | $10–$20 |
| Chain replacement | $15–$40 (plus chain cost) |
| Derailleur alignment | $20–$50 |
| Full tune-up | $50–$100 |
Prices vary by location, but kids’ bike repairs are generally inexpensive compared to adult performance bikes.
When a Bike Shop Is the Better Choice
Sometimes professional service is the safest option.
Visit a bike shop if:
- The derailleur looks bent
- The rear wheel won’t stay aligned
- The chain drops repeatedly after adjustment
- The bike was involved in a crash
- You’re unsure about safety
A properly adjusted drivetrain ensures your child rides safely and confidently.
requently Asked Questions
Why Does a Kids Bike Chain Keep Coming Off Repeatedly?
If the chain continues to fall off after tightening, there is usually an underlying issue such as:
- Worn or stretched chain
- Bent sprocket teeth
- Misaligned rear wheel
- Damaged derailleur (on geared bikes)
Repeated chain drops signal that something needs correction beyond simple tightening.
Can a Loose Chain Be Dangerous for Children?
Yes, a loose chain can pose safety risks.
Potential dangers include:
- Sudden loss of pedaling power
- Chain jamming mid-ride
- Child losing balance
- Fingers getting caught while trying to fix it
While not usually severe, preventing repeated drops improves both safety and confidence.
How Tight Should a Kids Bike Chain Be?
A properly tensioned kids’ bike chain should move about ½ inch (1–1.5 cm) up and down when pressed gently in the middle.
Too tight:
- Causes stiff pedaling
- Wears out bearings faster
Too loose:
- Falls off easily
- Slips during pedaling
Correct tension strikes a balance between smooth movement and secure engagement.
Can You Fix a Bike Chain Without Tools?
In some cases, yes.
If the chain simply slipped off but tension is correct:
- Turn the bike upside down
- Place the chain back onto the front sprocket
- Loop it over the rear sprocket
- Rotate pedals forward slowly
However, if the chain is loose or the wheel needs adjustment, basic tools like a wrench will be necessary.
Final Thoughts
When a child’s bike chain keeps coming off, the solution almost always comes down to tension, alignment, or wear.
These issues are common, fixable at home, and rarely dangerous if addressed early.
A properly adjusted chain not only prevents frustration but also makes riding safer and more enjoyable for your child.

- 10 Best Jack For Electric Vehicle Review (October 2026) - October 12, 2026
- 10 Best Jack For Emergency Tire Change Review (October 2026) - October 12, 2026
- 10 Best Jack For Dodge Challenger Review (October 2026) - October 12, 2026