How to Install a Bicycle Tire Properly

A bicycle tire that sits incorrectly can cause wobbling, air loss, or sudden failure during a ride. Many riders struggle with pinched tubes, uneven tire beads, or tires that refuse to seat correctly on the rim. Learning the correct installation process prevents flats and keeps the bike safe. This guide explains each step clearly, from removing the old tire to inflating the new one without damaging the tube.
Changing a bicycle tire is a rite of passage for every rider. Whether you’re upgrading to a faster road tire or fixing a mid-trail flat, the process is straightforward once you know the “pro” tricks for handling the chain and the rim.
Here is your step-by-step guide to mastering the swap.
Tools Needed to Install a Bicycle Tire
Before you get your hands greasy, gather these essentials:
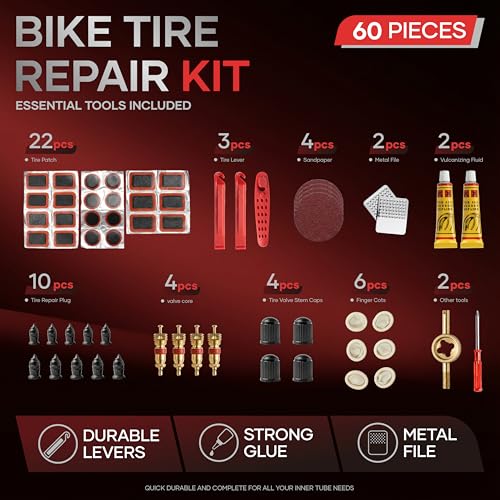
- Tire LeversThese small plastic tools are non-negotiable. They allow you to pry the tire bead over the rim without damaging the metal or carbon. Tip: Plastic is better than metal to avoid scratching your rims.
- Bicycle Pump or Floor PumpA floor pump with a pressure gauge is best for home use to ensure you hit the exact PSI listed on your tire sidewall.
- Replacement TubeEnsure the valve type (Presta skinny with a nut, or Schrader like a car tire) and size match your wheel.
- Patch Kit (Optional)If you aren’t replacing the tube, a patch kit is a great backup for sealing small thorn or glass punctures.
- Rim Tape InspectionNot a tool, but a requirement. Always check that the protective strip inside the rim is covering the sharp spoke holes.
Remove the Bicycle Wheel from the Bike
- Releasing Rim BrakesIf you have rim brakes (V-brakes or calipers), you must “open” them. Usually, there is a small lever on the brake itself or a “noodle” you unclip. This prevents the inflated tire from getting stuck on the brake pads.
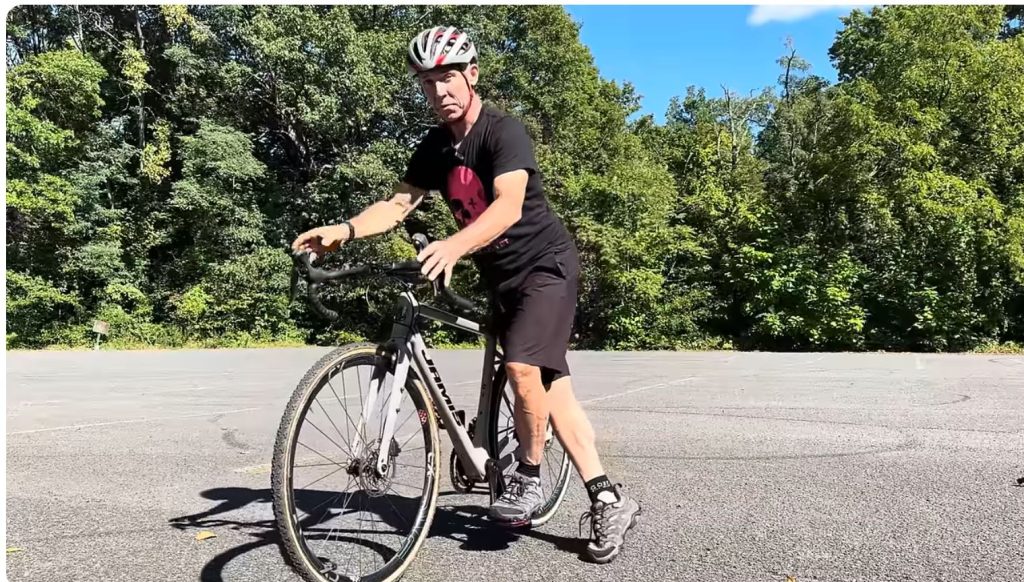
- Opening the Quick-Release LeverFlip the lever to the “OPEN” position. You may need to unscrew the nut on the opposite side a few turns to give the axle enough clearance to slide out of the frame.
- Removing a Wheel with Axle NutsFor older bikes or fixed-gears, use a 15mm wrench to loosen the nuts on both sides. You don’t need to take them all the way off just enough to clear the frame.
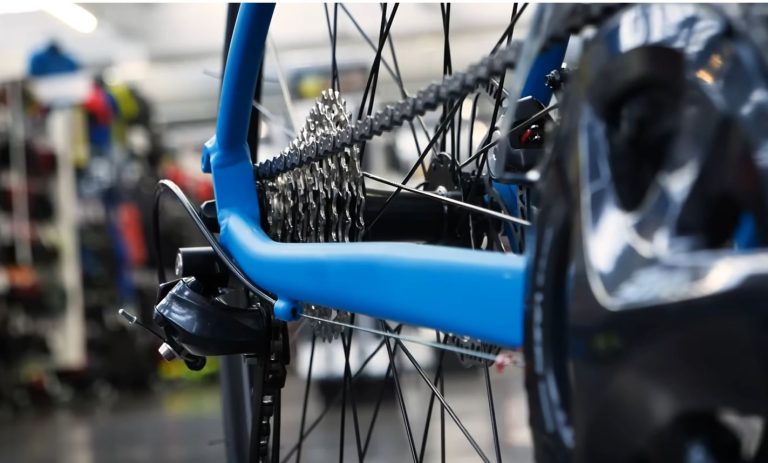
- Tips for Rear Wheel RemovalThe Secret: Always shift your chain to the smallest cog (the hardest gear) before starting. This creates slack. Pull the derailleur body back toward the rear of the bike to guide the wheel out without the chain getting tangled.
Remove the Old Tire from the Rim
- Deflating the Tube CompletelyUnscrew the valve cap and depress the pin. For Presta valves, you must unscrew the tiny brass tip first. Squeeze the tire to force out every last bit of air.
- Using Tire Levers CorrectlyHook one lever under the edge (the “bead”) of the tire and lock the other end to a spoke. Insert a second lever a few inches away and slide it along the rim. The tire should “zip” right off.
- Sliding the Tire Bead Off the RimOnce one side of the tire is hanging off the rim, you can usually pull the rest of the tire off by hand. You only need to remove one side to get the tube out.
- Removing the Inner Tube SafelyPull the tube out, starting at the point furthest from the valve. Pull the valve through the rim hole last to avoid tearing the rubber.
Inspect the Rim and Tire Before Installation
- Checking Rim Tape ConditionLook for tears or shifted tape. If a spoke hole is exposed, it will pop your new tube instantly.
- Looking for Sharp Debris Inside the TirePro Tip: Carefully run a rag (or your fingers, if you’re brave) along the inside of the tire casing. Often, the thorn or glass that caused the flat is still stuck in the rubber, waiting to pop your new tube.
- Inspecting Tire Sidewalls for DamageLook for “threads” showing or large gashes. If the sidewall is compromised, the tire could blow out under pressure.
- Confirming Correct Tire SizeCheck the numbers on the side (e.g., 700x28c or 29×2.1). Make sure your new tire matches your rim width and your tube matches the tire volume.
After getting the old tire off and inspecting your rim, it’s time for the most satisfying part: getting back on the road. This stage requires a bit of finesse to ensure you don’t “snakebite” your new tube (pinching it between the rim and tire).
Here is the professional way to finish the job and get your wheels spinning perfectly.
Insert the New Inner Tube the Right Way
- Adding a Small Amount of Air to the TubeBefore you put the tube in, give it just enough air so it takes a round shape—roughly 5% of its capacity. This prevents the tube from twisting or getting caught under the tire bead during installation.
- Placing the Valve Through the Rim HoleLine up the valve stem with the hole in the rim. Push it through and, if your tube has a small nut, thread it on loosely to keep the valve from slipping back inside while you work.
- Positioning the Tube Evenly Inside the TireWork the tube into the “belly” of the tire all the way around. Make sure there are no bunches or folds; it should sit snugly and uniformly against the rim.
How to Mount the Tire Back onto the Rim
- Installing the First Tire BeadPush one side of the tire (the bead) over the edge of the rim. This should be easy enough to do with just your hands.
- Tucking the Tube Inside the TireDouble-check that the tube is completely tucked inside the tire walls and isn’t peeking out over the edge of the rim anywhere.
- Seating the Second Tire BeadNow for the tricky part. Start at the valve and use your thumbs to push the second bead onto the rim, working your way around in both directions. The last few inches will be tight. Pro Tip: Use the “rolling” motion of your palms rather than just your thumb tips to snap it into place.
- Avoiding Tube PinchingBefore you grab a tool to force the last bit of tire on, check that the tube isn’t trapped between the tire and the rim. If you use a tire lever to finish the job, be extremely careful not to “bite” the tube with the lever.
Inflate the Tire Properly for Performance
- Checking Tire Pressure Range on the SidewallEvery tire has a recommended PSI (pounds per square inch) range printed on the side. Never exceed the maximum, as this can cause a blowout.
- Pumping Slowly and EvenlyDon’t just blast air in. Pump a little, then stop and inspect the tire. Ensure the tire is sitting evenly on the rim.
- Watching the Bead Seat into the RimAs the pressure builds, you might hear a “ping” or “pop” sound. This is the tire bead snapping into its final, secure position on the rim.
- Correct PSI for Road Bikes vs. Mountain Bikes
- Road Bikes: Usually 80–100 PSI for speed and low rolling resistance.
- Mountain Bikes: Usually 25–45 PSI to allow the tire to grip the dirt and absorb bumps.
Check the Tire Alignment for a Smooth Ride
- Spinning the Wheel to Check WobbleGive the wheel a spin while it’s still in your hands (or on the bike). If the tire looks like it’s “hopping” or “wobbling” left to right, it isn’t seated correctly.
- Confirming the Tire Bead is Evenly SeatedLook for the tiny “molded line” on the tire just above the rim. This line should be at the exact same distance from the rim all the way around the circle.
- Adjusting Pressure if NeededIf the tire is lopsided, deflate it slightly, massage the tire into the center of the rim, and re-inflate.
Reinstall the Wheel on the Bicycle
- Aligning the Chain on the Rear CassetteFor the rear wheel, pull the derailleur back and place the top of the chain over the smallest gear. The wheel should slide right into the frame “dropouts.”
- Tightening the Quick-Release LeverClose the lever with enough force that it leaves a slight imprint on your palm. It should be firm, but you shouldn’t need a hammer to close it.
- Reconnecting the Brake SystemCrucial Step: Don’t forget to close your rim brakes or check that your disc rotor is centered between the pads. Give the brakes a squeeze to ensure they are working before you hop on.
Common Mistakes When Installing Bicycle Tires
- Pinching the Inner TubeThe #1 cause of “new tube flats.” Always check the rim edge before final inflation.
- Installing the Tire in the Wrong DirectionMany tires are directional. Look for a small arrow on the sidewall that says “Rotation.” Installing it backward can affect your grip and water shedding.
- Overinflating the TireMore pressure isn’t always better. Overinflating leads to a harsh ride and increases the risk of a “blowout” pop.
- Skipping Rim InspectionIf you don’t find what caused the flat, your new tube will pop within the first mile. Always check for that hidden thorn!
Tips to Make Tire Installation Easier
- Use Warm Tires for FlexibilityIf you’re struggling with a stiff new tire, let it sit in the sun or a warm room for 20 minutes. The rubber becomes much more pliable.
- Push Beads into the Rim ChannelWhen the tire gets tight at the end, push the already-installed parts of the bead into the “valley” (the center) of the rim. This creates more slack for the final section.
- Avoid Using Sharp ToolsNever use a screwdriver! You will almost certainly puncture the tube or scratch your rim. Stick to plastic tire levers.
- Carry Spare Tubes During RidesPatches are great, but a fresh tube is faster and more reliable when you’re stuck on the side of the road.
When to Replace a Bicycle Tire Completely
- Worn Tread PatternsIf the center of the tire looks flat or “squared off,” or if you can see the protective belt underneath, it’s time for a change.
- Sidewall CracksOld tires develop “dry rot.” If you see tiny cracks on the side of the tire, the rubber is losing its integrity and could fail unexpectedly.
- Frequent PuncturesAs tires get thinner from wear, they lose their puncture resistance. If you’re getting a flat every week, the tire is likely too thin to protect the tube.
- Tire Age and Rubber DeteriorationRubber hardens over time (usually 3–5 years). If your tires feel “waxy” or hard rather than “grippy,” replace them to regain your cornering safety.
To wrap things up, we’ve covered a lot of ground—from choosing the right budget bike to the nitty-gritty of swapping out your own tires. Mastering these basics doesn’t just save you money; it gives you the confidence to explore further, knowing you can handle whatever the road (or trail) throws at you.
Here are the most common questions riders have when they are just starting out, followed by our final take.
Frequently Asked Questions
How long should my bicycle tires actually last?
On average, a road bike tire lasts between 2,000 and 4,000 miles, while mountain bike tires vary based on how “aggressive” the tread is. If you see the center of the tire looking flat/squared-off or if you start getting flats every week, it’s time for a change.
Can I put mountain bike tires on my commuter/road bike?
Usually, no. Road bikes have narrow frames with limited “clearance.” A knobby mountain bike tire will likely rub against the frame or brakes. However, many modern “hybrid” bikes can handle slightly wider, gravel-style tires for extra grip.
Is it better to patch a tube or just buy a new one?
If you’re at home, a patch is a great way to be eco-friendly and save a few dollars. However, if you’re on the side of the road, swapping in a fresh tube is much faster and more reliable. Save the patching for a rainy Sunday in the garage!
What is the “perfect” tire pressure?
There’s no one-size-fits-all answer, but a good rule of thumb is:
- Road: 80–100 PSI (High pressure for speed)
- Hybrid: 40–60 PSI (Mid-range for comfort)
- Mountain: 25–35 PSI (Low pressure for grip)
- Always check your specific tire’s sidewall for its unique range!
Final Verdict: The Secret to a Great Ride
Whether you are commuting to work on a sleek road bike or hitting the dirt on a budget mountain bike, the “best” bike is always the one that actually gets ridden.
If you’re on a budget, prioritize a lightweight aluminum frame and decent brakes. These two factors have the biggest impact on your safety and how much fun you’ll have. Don’t worry about having the most expensive gear; worry about keeping your tires inflated, your chain lubed, and your helmet on.

- 10 Best Jack For F150 Review (October 2026) - October 12, 2026
- 10 Best Electric Hydraulic Jack For Car Review (October 2026) - October 12, 2026
- 10 Best Electric Jack For Car Review (October 2026) - October 12, 2026